You don’t have to be a decorating pro to attempt a fabulous gallery wall.
It may feel daunting at first but once you pick your first print you’ll be on a roll!
The inspiration to create a wall gallery can come from so many different places and the secret is, make sure you really love the prints you choose. There are lots of quotes to print on line that look a bit samey and you could easily create something lovely but make sure it’s personal to you and gives you a great boost every time you look at it, not just because it looks good!
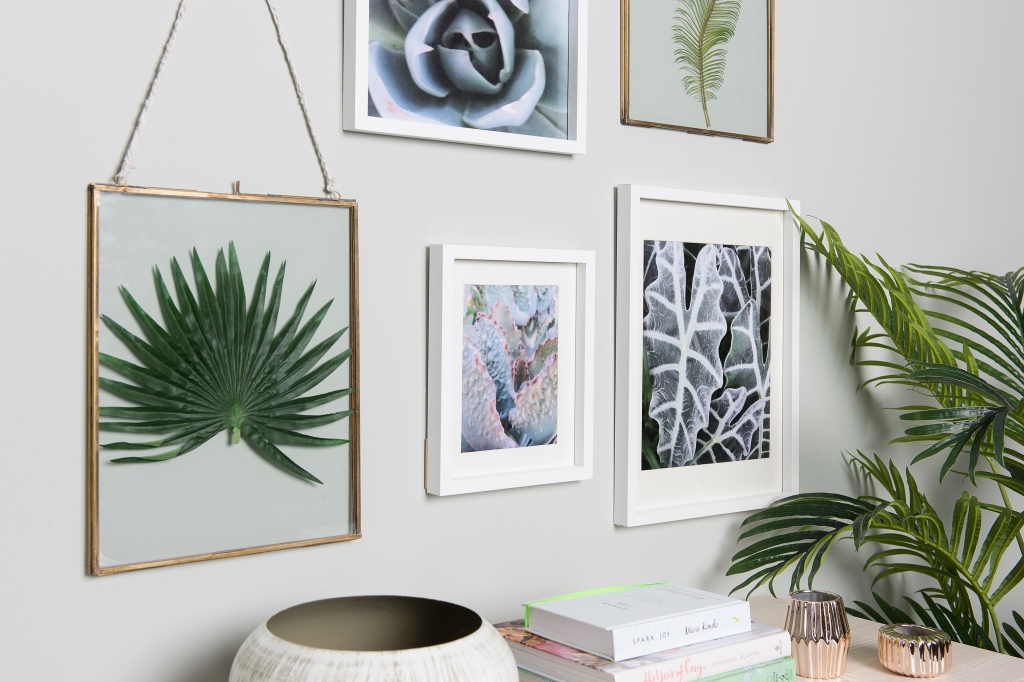
Meaning behind you gallery wall art is everything and here in this botanical wall art is a collection of photos I took from my day at the RHS Chelsea flower show. There was so many beautiful botanical plants, it was the perfect inspiration I needed for the project and couldn’t wait to get the photos printed and framed.

Do you choose the frames or the prints first?? Well I chose the frames first because then as I edited the photos I could easily see the crops needed and choose the images accordingly.
For the large frames simple shapes and linear design works perfectly with the more detailed photos suiting the smaller frames.
To mount or not to mount, that is the questions. If your frames are easy to get in and out of you may have to experiment if you have the opportunity to print out two cropped versions, one for mounted and one without. If your images are abstract it may not matter either way and a more zoomed images may still look great within a mount, but I made sure I edited to the exact size it needed to be and printed a few off it necessary.
Once your framed wall art is complete you can work out how to organise the gallery on the floor. This may take some extra time but if you go straight on to the wall you may regret it before experimenting without having any pressure of making holes.
To make the holes on the wall you’ll need a drill or screw driver. You’ll need some wall plugs and screws, but make sure there’s no wires that you’ll be drilling into. One piece of advice is don’t drill above wall sockets.
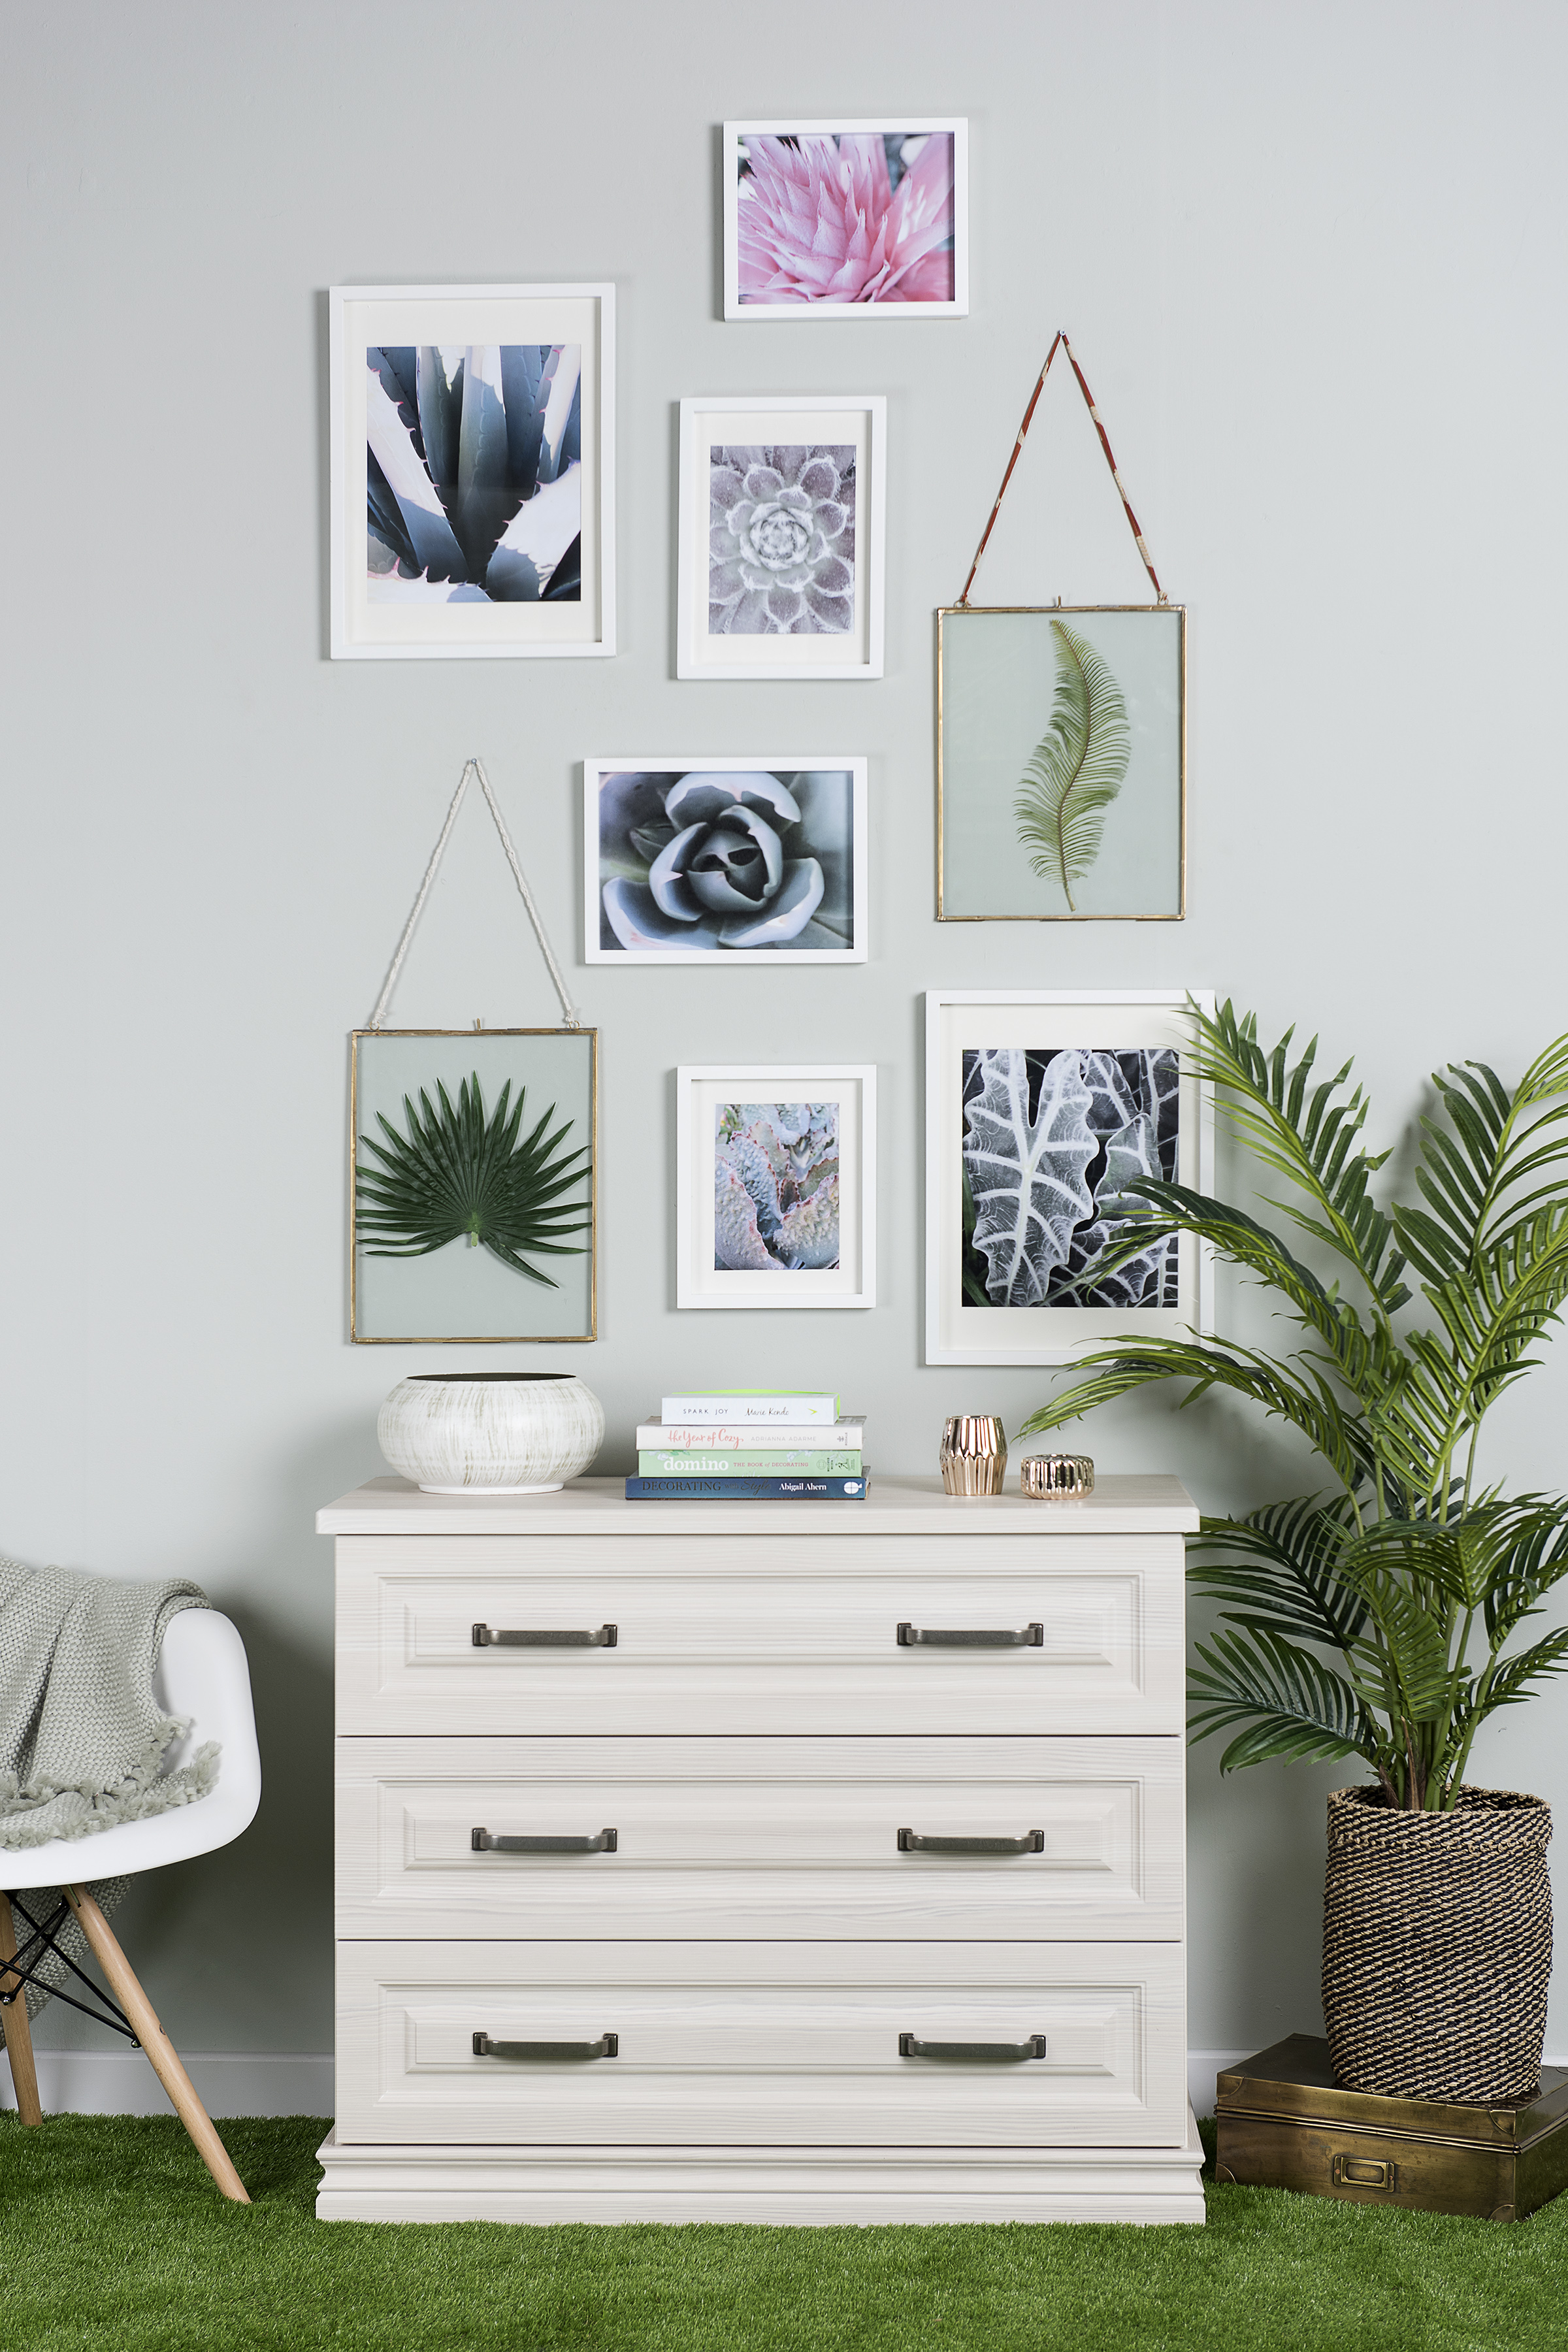
The best place to start your DIY gallery wall is at the centre top and work your way out and down. This way you won’t be left with lots going on at the bottom and a massive gap between the ceiling and the top of the frames.
In this wall gallery the frames are from a few different places, mostly Asda where they have a great selection.
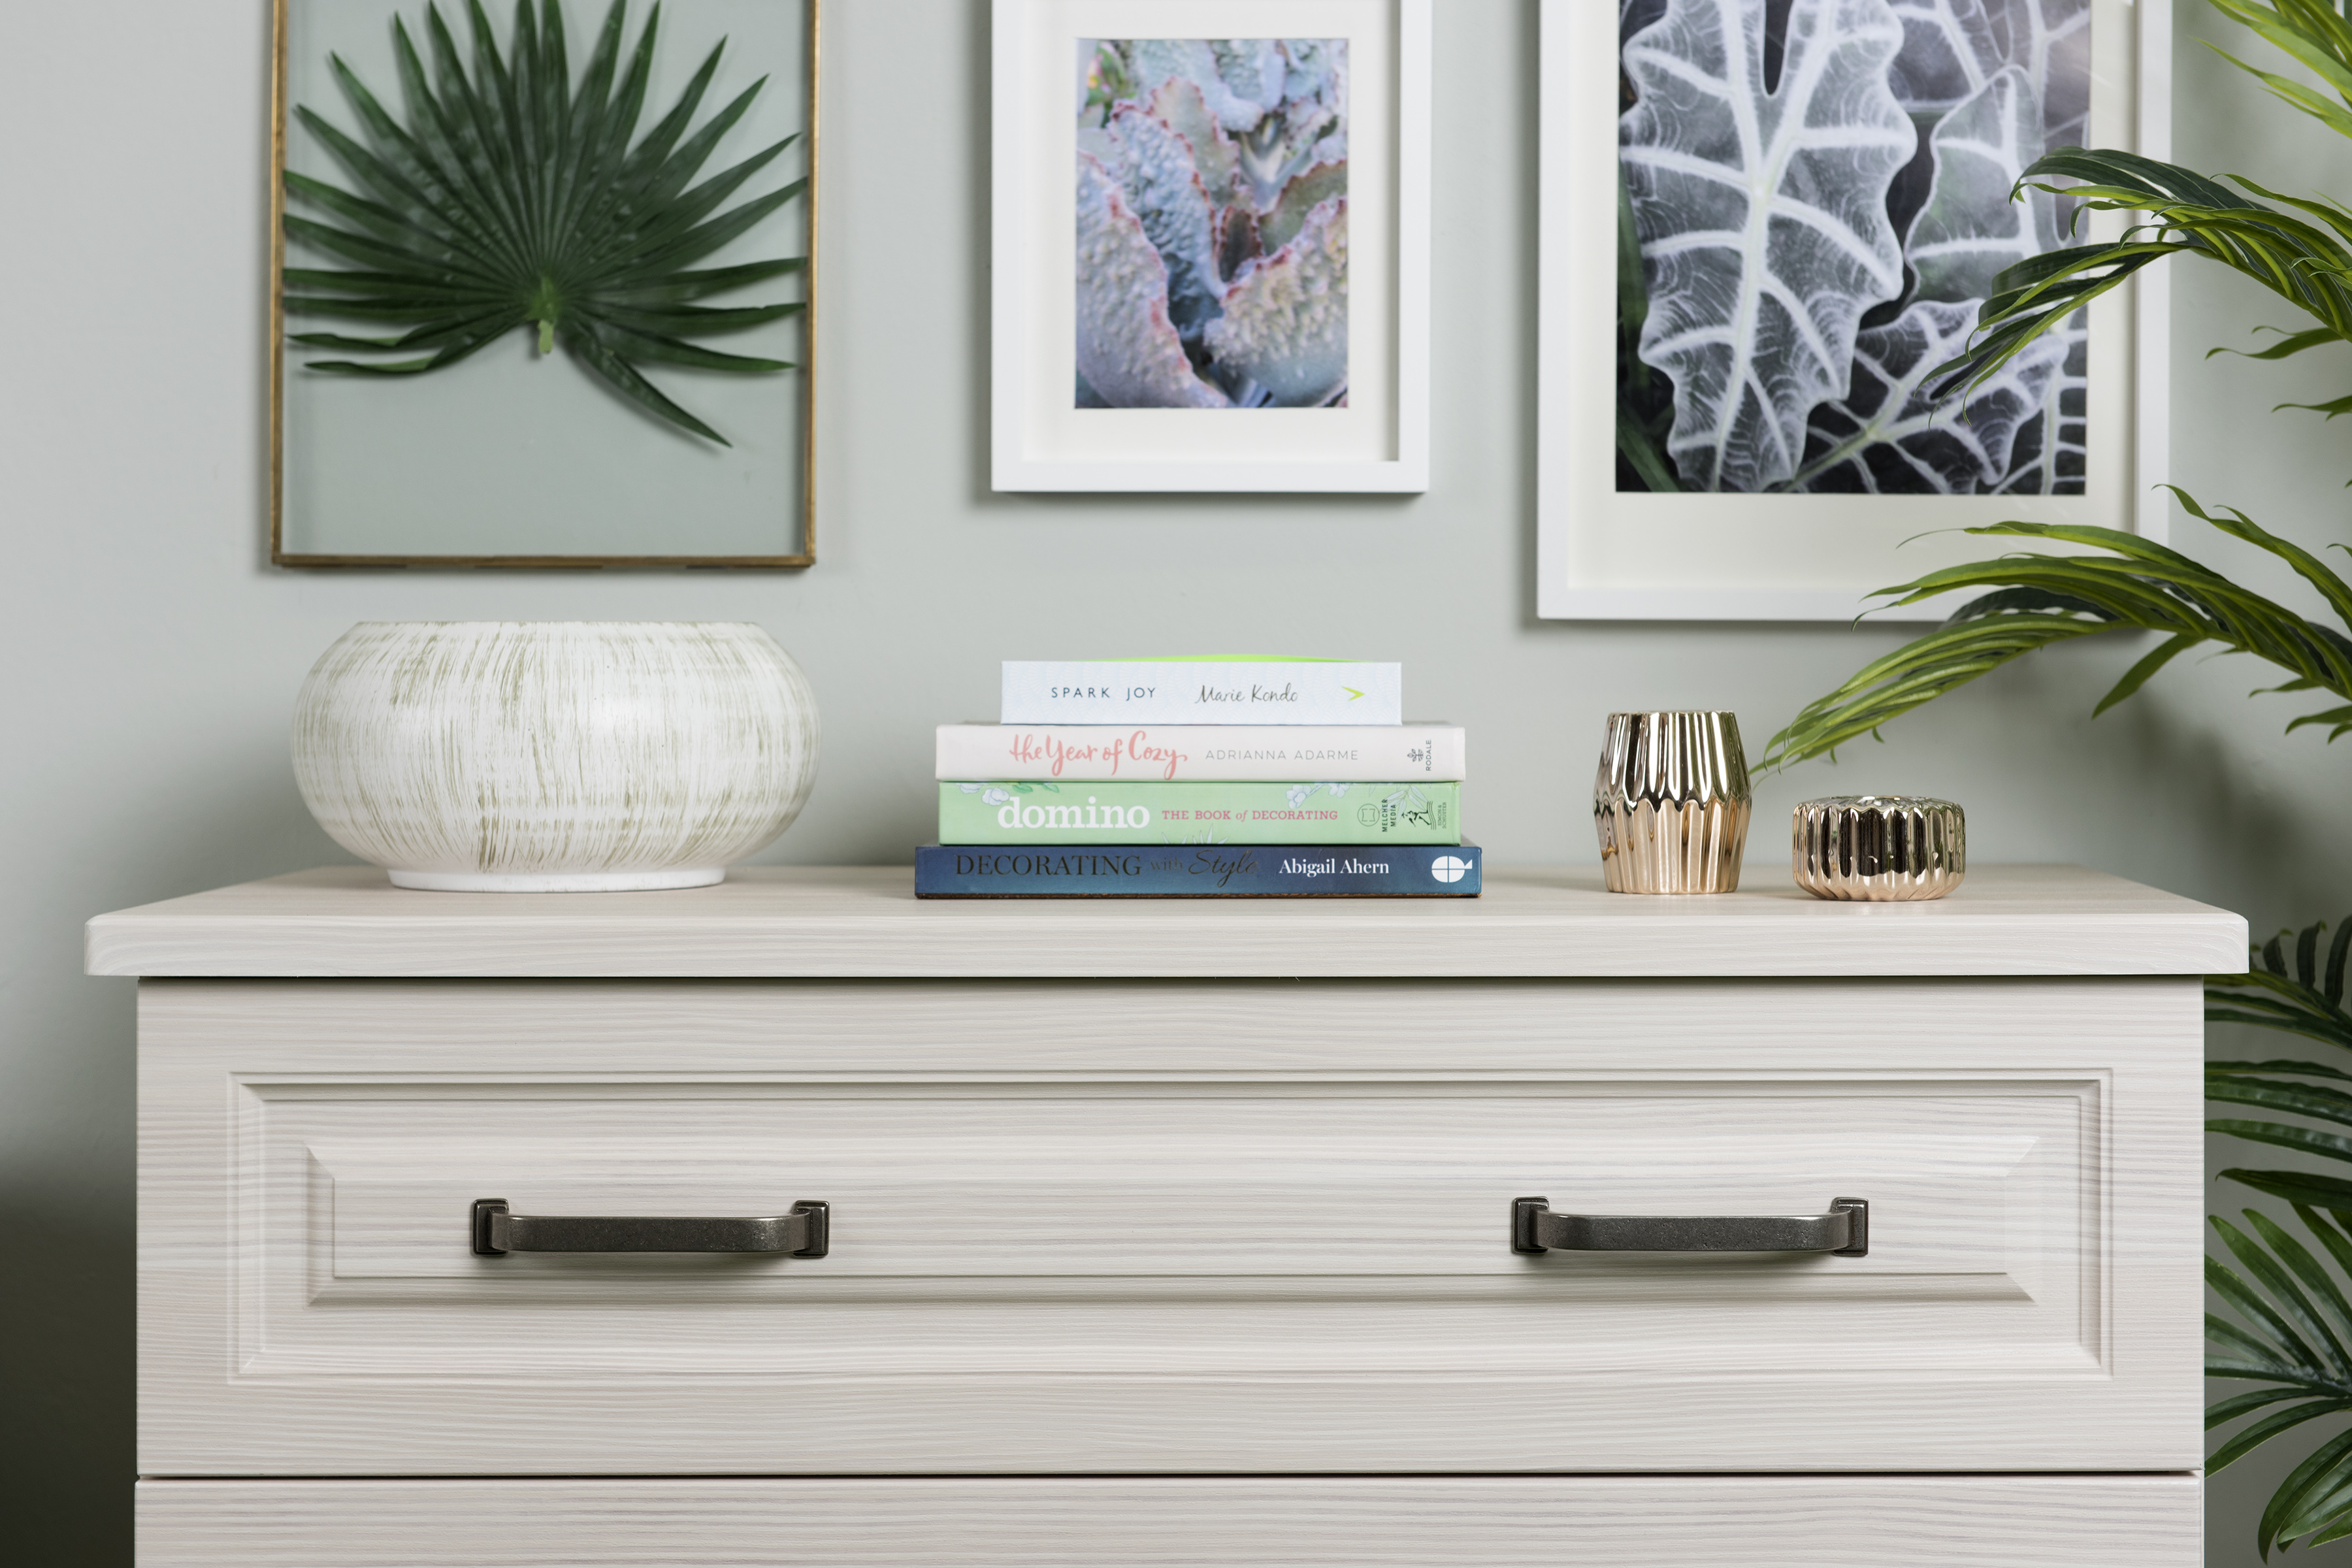
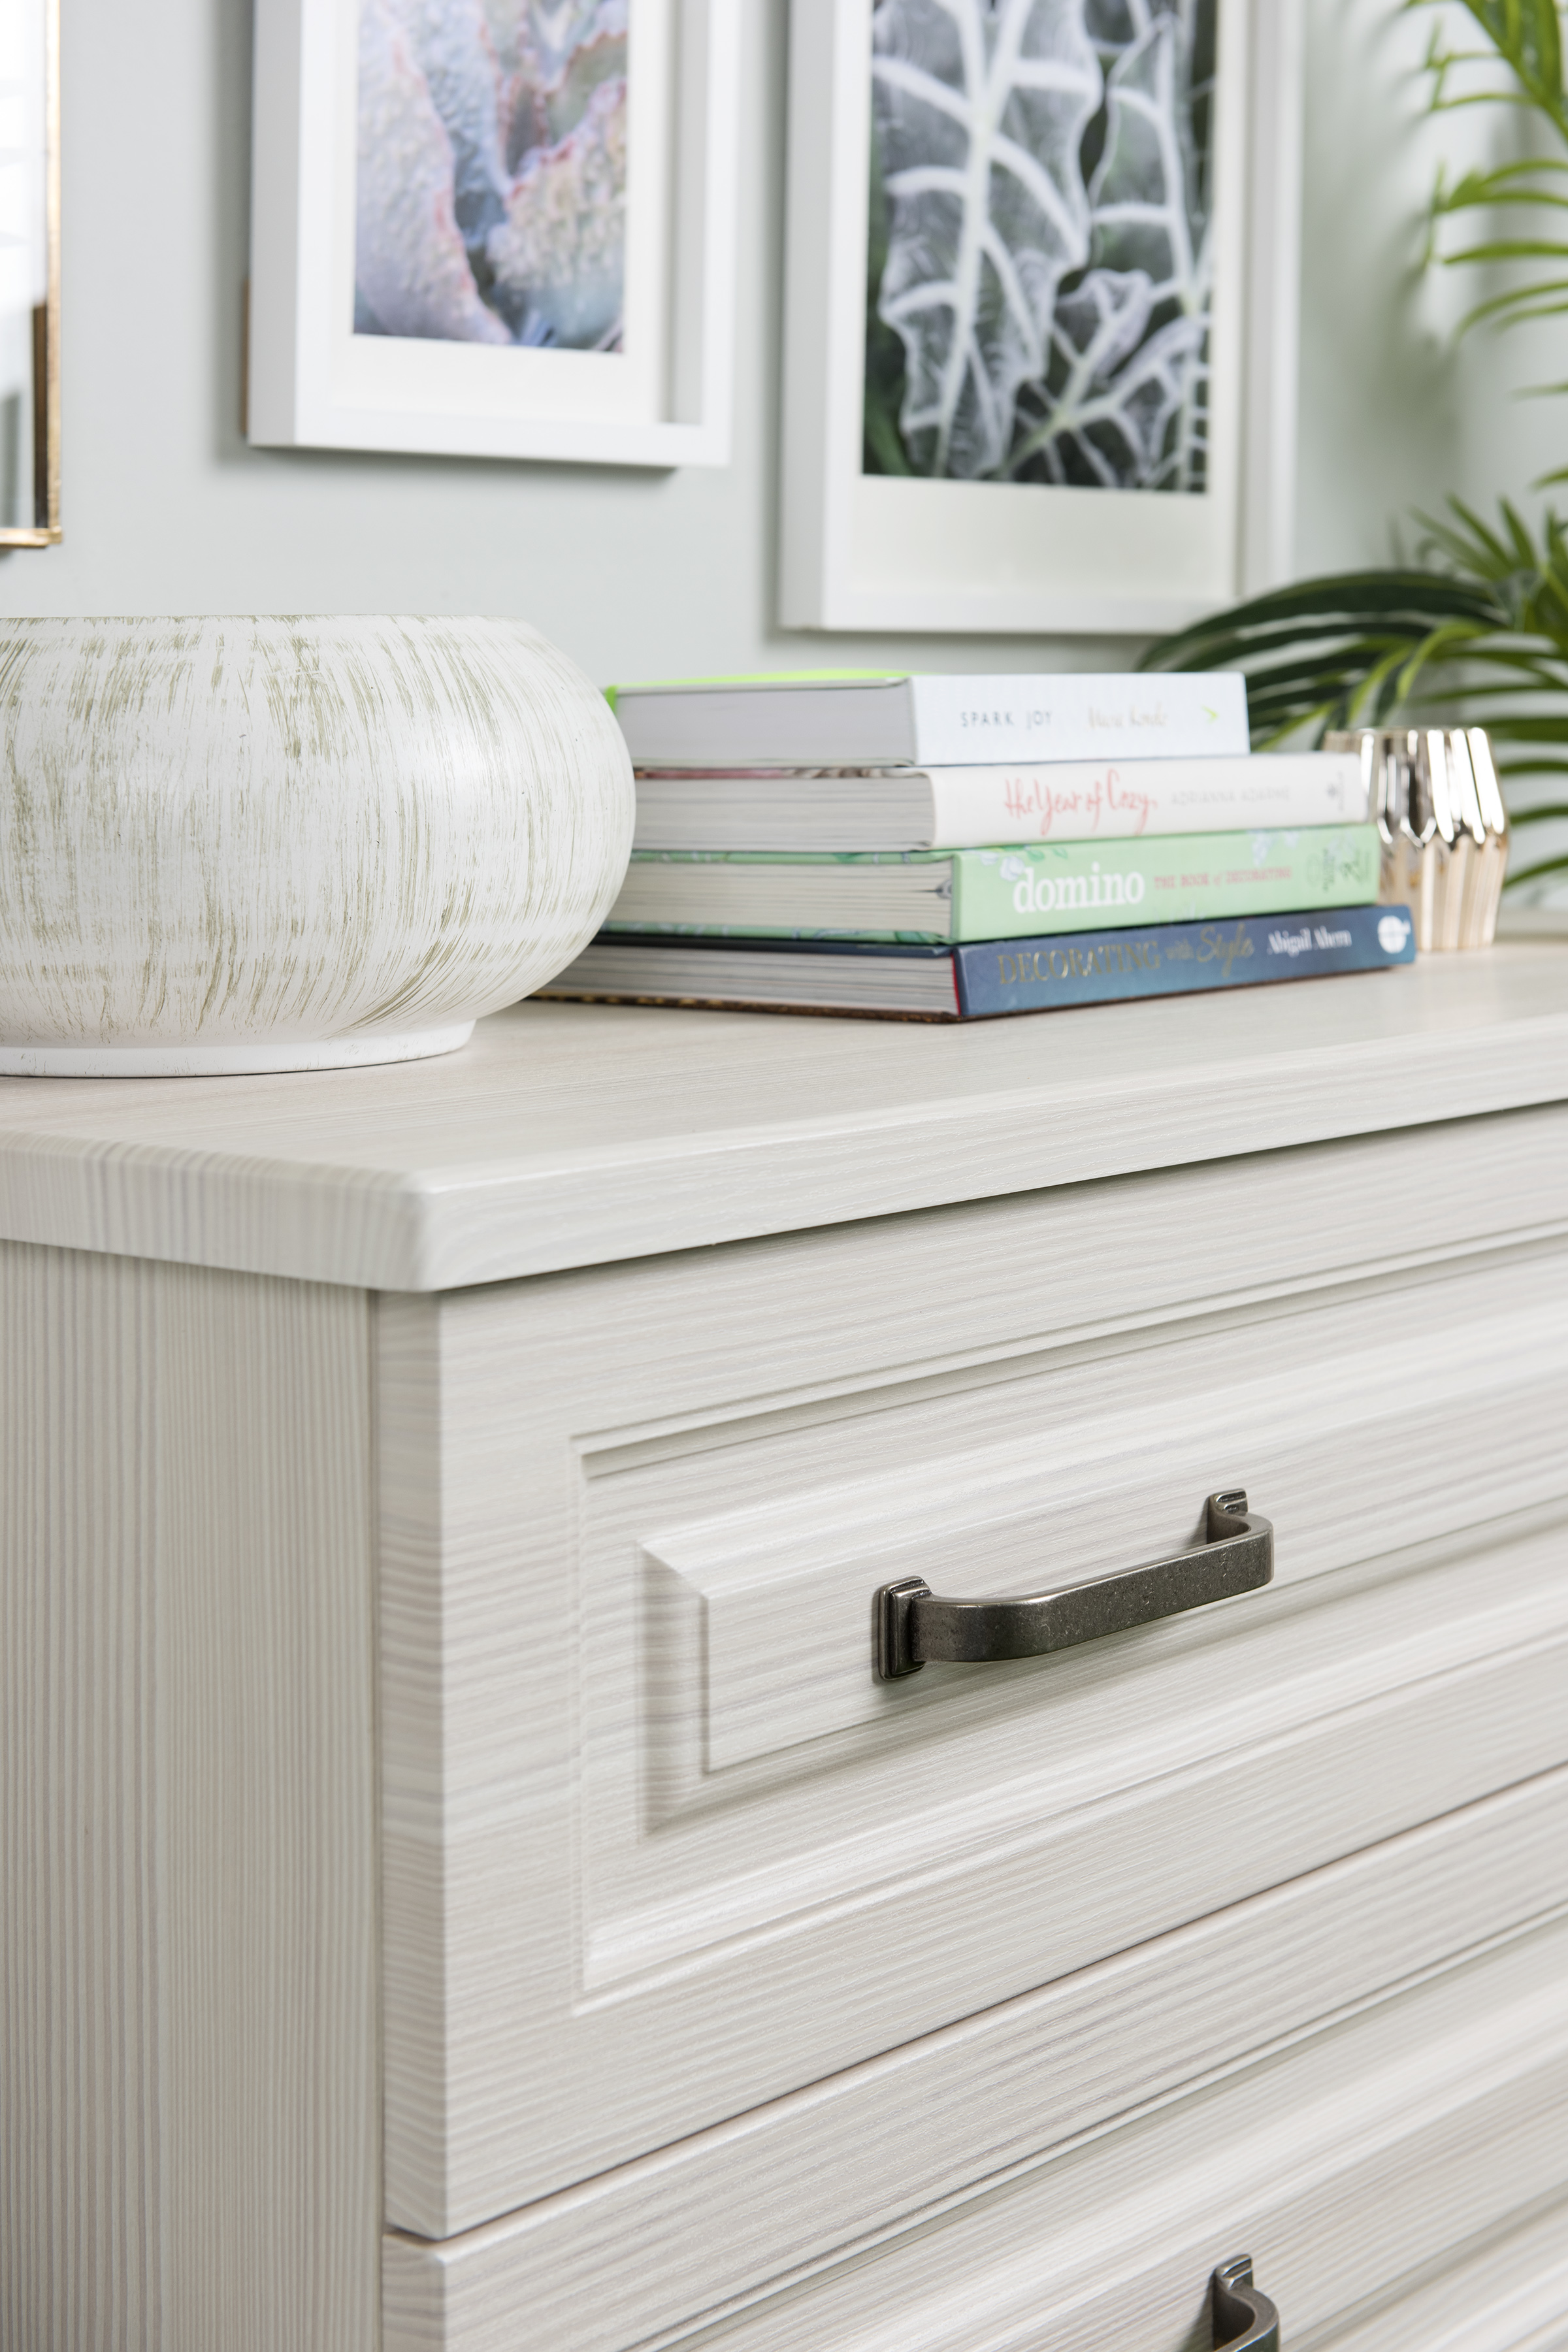
The 3 drawer chest is 80cm wide and that is the width we used as a guide for the wall art. The chest of drawers is from Hammonds Furniture and you can see this gallery featured in their summer digital magazine called ‘moments’.

Leave a comment